
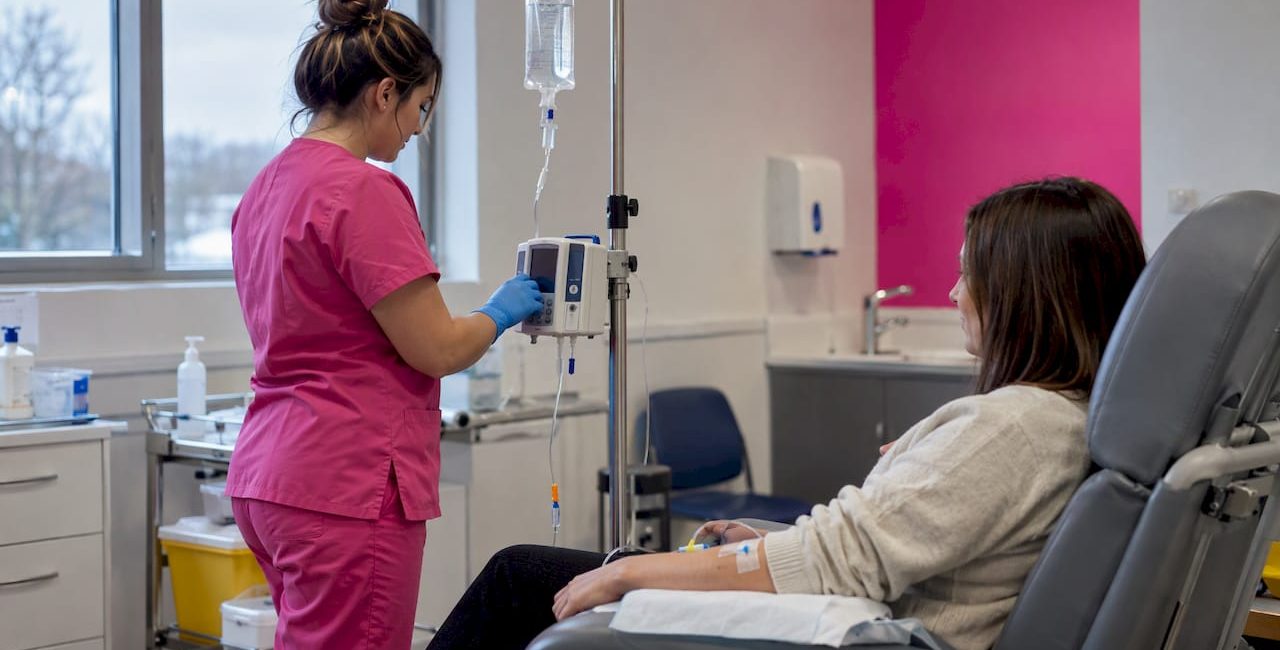
A safe IV infusion setup follows one order: confirm the prescription and the patient, gather and check every item, prepare and prime the line using aseptic technique, have the connection witnessed, then document the rate and volume. This checklist is for licensed practitioners and qualified aesthetic professionals who set up infusions in clinics, and it draws on published NHS and NICE documents so you can compare it with your own protocol.
We have kept it practical. Each section says what to check, where setups most often go wrong, and which parts of the job can be taken off your plate before the patient is in the chair.
TL;DR
- Verify the prescription, the patient’s identity, allergies and valid consent before you touch any equipment.
- Assemble everything first: medicine or fluid, diluent, flushes, administration set, access device, labels and PPE, with packaging and expiry dates checked.
- Use the aseptic non-touch technique (ANTT), prime the line fully, and clean the access port for 30 seconds before connecting.
- Two competent practitioners independently check and witness the connection where your policy requires it.
- Label immediately, record volume and rate, and re-check whenever the rate changes.
Table of Contents
- Before you open any packaging: the pre-checks
- Equipment and supplies checklist
- Aseptic preparation, step by step
- The independent check and witnessed connection
- Labelling and documentation
- Where the guidance applies and where it does not
- Common setup errors and how to avoid them
- Our perspective
- Stocking the tray: IM/IV vitamins and consumables
- FAQ
- Sources
Before you open any packaging: the pre-checks
Most setup errors begin before the equipment appears. Work through the following first.
The prescription. A Scottish NHS guideline on IV therapy and peripheral cannulation says to check the prescription’s date, time, route and method, its validity, its legibility and the prescriber’s signature. The same document says to explain the procedure and obtain valid consent, and to confirm that the formulation, dose, diluent, infusion fluid and rate match both the prescription and the product information.
The patient. Confirm identity against the name band or your clinic’s identification process, and ask about allergies. Check whether the patient has had any prior administration of the same product that day.
The indication. NICE guideline CG174 covers adult hospital inpatients, so it is not written for an aesthetic clinic, but its principle travels well: IV fluids should be used only when needs cannot be met orally or enterally and stopped as soon as possible. The same guideline expects IV fluids to be prescribed and administered by skilled, competent healthcare professionals. That is the standard your documentation should be able to show.
The access device. The same Scottish guideline asks you to check that the catheter is in date and intact. If you are choosing between gauges, our guide to IV cannula sizes covers what each size suits.
Equipment and supplies checklist
Assemble the full set on a clean, prepared tray before you start. An English NHS trust policy approved in December 2025 lists the prescribed medicine or fluid, diluent, flushes, syringes and needles, administration set, labels, access device and PPE. It adds that you should check packaging and expiry dates and ensure the required infusion device is available.
| Item | What to check | Common slip |
|---|---|---|
| Prescribed medicine or fluid | Name, strength, expiry, intact packaging, clear appearance | Using an ampoule from a different batch than the one recorded |
| Diluent and infusion fluid | Matches the prescription and product information | Wrong volume or fluid type picked from a similar-looking bag |
| Administration set | Correct type for the pump and the product, in-date, sealed | Mismatch between set and pump |
| Flushes | Saline, in date, enough for before and after | Running short mid-procedure |
| Syringes and needles | Correct size, sterile, enough spares | Opening spares early and leaving them unlabelled |
| Access device | In date, intact, suitable gauge | Selecting the gauge after the patient is seated |
| Alcohol pads or scrub hubs | In date, sealed | Reusing a pad |
| Labels | Pre-printed or ready to complete | Labelling late |
| Infusion pump | Available, working, programmed per the prescription | Discovering a flat battery at the point of use |
| PPE and hand hygiene supplies | Gloves, apron, sanitiser or sink access | Gloving before hand hygiene |
An American nursing school checklist for primary infusions gives primary tubing, the prescribed medication or fluid, a saline flush and alcohol pads as core supplies, with a pump where one is prescribed. The principle is the same in the UK: nothing should be missing once the line is primed.
If you stock your own consumables, our IM/IV consumables category keeps the routine items together, so a tray can be built from one order.
Aseptic preparation, step by step
This is the core of the setup. Keep each step in this order.
1. Hand hygiene and ANTT
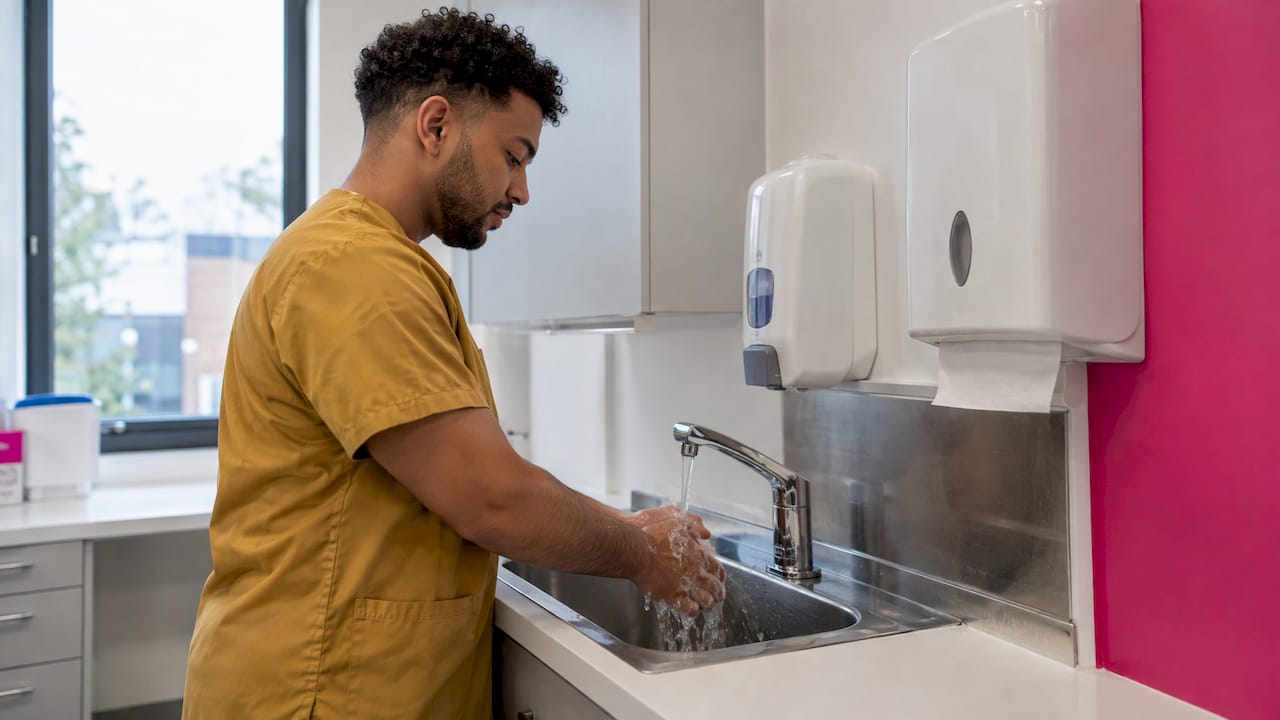
An English NHS trust policy requires ANTT, effective hand hygiene, non-touch practice and protection of key parts and key sites. A Scottish health board policy explains ANTT in plain terms: avoid contact with key parts, such as syringe tips and needle-free access devices, after decontamination. In practice, that means a syringe tip never touches the bench, your glove or the outside of a vial.
2. Prepare the medicine and any additions
Follow the manufacturer’s instructions for reconstitution and dilution. The English trust policy says additions should be mixed thoroughly and never added to an infusion container already connected to a giving set. A Leicestershire NHS policy ratified in May 2024 likewise directs staff to use ANTT and manufacturer instructions when preparing IV medicines. If you are working with vitamin products, the 8-step protocol for mixing IV vitamins sets out the order of preparation for UK clinicians.
3. Spike and hang the bag
The primary-infusion checklist from the American nursing school gives a clear sequence. Close the roller clamp, spike the bag without contaminating the spike, hang the bag, and fill the drip chamber one-third to one-half full. The most frequent error here is touching the spike port with a gloved finger while trying to align it.
4. Prime the line
Prime the tubing slowly. The Scottish health board policy says to fully prime the infusion system before attaching it to the vascular access device. The same primary-infusion checklist requires you to remove all air bubbles before connection. Run the fluid to the end of the line without letting the end touch anything, and keep the protective cap on until you connect.
5. Check the line type and the pump programme
Program the pump to the prescribed rate, and confirm that the line type is the one the pump and prescription assume. Rate errors are easy to make when line types are confused, and our article on infusion line types explains the differences for UK clinicians. Read the rate aloud against the prescription before you start.
6. Clean the access port
The Scottish health board policy specifies cleaning the port with 2% chlorhexidine in 70% isopropyl alcohol for 30 seconds, then allowing it to dry. Wiping and connecting straight away defeats the purpose, because the drying time is part of the disinfection.
The independent check and witnessed connection
Before connection, the same Scottish policy describes both practitioners independently checking the completed prescription, allergies, patient identity and name band, medicine, dose and fluid, expiry and compatibility, any prior administration, calculations, the appearance of the solution and the pump rate. Both competent practitioners should then witness commencement by observing the connection of the syringe or administration set to the vascular access device.
Two points matter in clinic settings.
- Independent means independent. The second checker reads the prescription and the product for themselves, rather than listening to the first person read it out.
- Rate changes restart the check. The same policy says a rate change needs another independent two-person check.
If your clinic works with a single practitioner on some days, write down in your protocol how the independent check is achieved on those days, and keep that record with your governance documents.
Labelling and documentation
Label straight after preparation. The English trust policy says infusions and injections should be labelled immediately after preparation, and that an operator must not hold more than one unlabelled syringe at a time. The same policy points to immediate labelling and preparing close to the time of administration as safeguards against mix-ups, microbial growth and degradation.
Once the infusion is running, the Scottish policy says to record the infused volume, the volume remaining and the rate hourly on the pump chart. For an aesthetic clinic, a good record also includes:
- the product name, batch number and expiry date;
- who prepared it and who checked it;
- the time of connection and the time it finished;
- any reaction or interruption, and what was done.
Plan the time you need, too. Preparation that is rushed because a delivery arrived late is where labels, checks and expiry dates get skipped.
Where the guidance applies and where it does not
Two documents are often quoted in this area, and it helps to know their reach.
NHS England’s guidance on assurance of aseptic preparation (published 17 March 2023, last updated 1 June 2023) applies to pharmacy-facility aseptic reconstitution and other aseptic manipulations that produce labelled, ready-to-administer medicines for a specific patient. It is aimed at those preparation units rather than at the bedside or chairside. NICE CG174, as noted above, covers hospital inpatients aged 16 and over and excludes several groups, including pregnancy and patients with severe liver or renal disease, diabetes or burns.
The NHS trust and health board policies cited here are local documents, and the Leicestershire one says practitioners must follow it together with relevant local policies and manufacturer instructions. Treat them as well-sourced models for your own protocol, and let your registered prescriber, your governance lead and the product information decide the final wording.
Common setup errors and how to avoid them
- Starting with an incomplete tray. Every trip away from the patient is a chance to break the aseptic field. Use the table above and do not begin until it is complete.
- Checking only once. Do the identity and prescription check at the start, and again at connection.
- Rushing the dry time. Count the 30 seconds and let the port dry.
- Air left in the line. Look along the full length of the tubing under good light before connecting.
- Late labelling. Label each syringe or bag as it is prepared, not at the end.
- Adding to a hanging bag. Make additions before the bag is connected to a giving set.
- Skipping the documentation until afterwards. Record the start values at the start.
Our perspective
We supply IM/IV vitamins and consumables to licensed practitioners, and the pattern behind most avoidable setup problems is not clinical knowledge. It is the tray. A missing flush, a set that does not suit the pump or an expiry date noticed late all push a practitioner to improvise, and improvisation is where aseptic technique slips.
That is why we have built our service around the practical side of the job. Our verification process is designed so that products go only to practitioners and prescribers who are entitled to them. Our orders are fulfilled by a dedicated team of healthcare professionals, and our extended order cut-off times are designed to help you get what you need for a planned list of patients in time.
A checklist works best when the supplies behind it are dependable. Order IV vitamins and consumables together, check them in against your list on arrival, and your setup starts from a complete tray.
Rizwan
Stocking the tray: IM/IV vitamins and consumables
For licensed practitioners and qualified aesthetic professionals, our IM/IV vitamins range sits alongside the IM/IV consumables category, so the product and the items that go with it can be ordered in one place. Access requires practitioner or prescriber verification, and our extended cut-off times are designed to support timely delivery. For the clinical side of vitamin infusions, our safety toolkit for UK clinicians and the three conditions checklist for safe IV vitamin therapy are written for the same audience.
FAQ
What is the first thing to check before setting up an IV infusion?
The prescription and the patient. Check the date, time, route, method, validity, legibility and prescriber’s signature, then confirm identity, allergies and valid consent. Equipment comes after this, never before.
How long should the access port be cleaned?
One Scottish NHS policy specifies 2% chlorhexidine in 70% isopropyl alcohol for 30 seconds, followed by drying. Your own protocol and the product information take precedence, so make sure your clinic procedure states the time and the agent.
Does every infusion need a second practitioner?
The NHS policy cited above describes independent two-person checks and a witnessed connection. For a clinic, your governance framework should state how the independent check is met, including on days when a single practitioner is working.
When should a medicine be added to an infusion bag?
Before the container is connected to a giving set, and mixed thoroughly. One English trust policy says additions should not be made to a container that is already connected.
What should be recorded during the infusion?
Record the infused volume, the volume remaining and the rate, with a time. Add the product, batch, expiry, who prepared and checked it, and any reaction or interruption.
Sources
- IV therapy and peripheral cannulation guideline, NHS Scotland (2020)
- NICE CG174: Intravenous fluid therapy in adults in hospital
- Southport and Ormskirk NHS policy, approved December 2025
- Primary Intravenous Infusion, College of Nursing, ECU
- Administration of Intravenous (IV) Medicines and Flush, NHS Greater Glasgow and Clyde, 2024
- Policy and Procedure for the Safe Administration of IV Medication, Leicestershire Partnership NHS Trust
- NHS England: Assurance of aseptic preparation of medicines